18 March 2015

Masala Tomato Pickle

I always prefer to make pickles or thokkus at home mainly for health and hygienic reasons.  Though consumption of pickles is very less by me and my daughter, we cannot forego them totally.  When we don't find anything better to go with curd rice, dosas, chappathis or even bread, we turn back to the pickles at home.

This time, we got tomatoes in abundance from my aunt's vegetable farm and I immediately got the thought of doing a pickle.  When I turned the pages of Mallika Badhrinath's Naa Oorum Oorugaaigal book, this recipe caught my eye and I quickly set to make this.  It did not take much time to do this as all things were readily available at home and was an easy process to do this recipe.  The original recipe calls for mustard oil to be used.  I used gingelly oil to make this pickle as the pungent smell of the mustard oil is not preferred by us.  You can all for sure try with the mustard oil if available in your proximity.

You can use either the local variety of tomatoes or the hybrid ones.  The local ones are more juicy and tangy.  It may take more cooking time comparatively.  A mix of both the varieties of tomatoes can also be used.


Ingredients:

Ripe red tomatoes - 1 kg

Oil (Sunflower/Mustard/Gingelly) - 1/2 kg

Aniseeds (Sombu/Saunf) - 1 tsp

Fenugreek seeds (Vendhayam/Menthulu/Methi seeds) - 1 tsp

Carom Seeds (Omum/Ajwain) - 1 tsp

Cumin Seeds (Jeeragam/Jeera Seeds) - 1 tsp

Mustard Seeds (Kadugu/Rai) - 1 tsp

Green Chillies - 8

Ginger - 4 inch piece (peel skin and chop)

Coriander Powder - 1 tsp

Turmeric Powder - 1/2 tsp

Asafoetida (Perungayam/Hing) - 1/4 tsp

Salt - 2 tbsp

Grated Jaggery - 1 tbsp


Method:

1.  Wash and pat dry the tomatoes and chop them finely.

2.  Heat 1 tsp oil in a kadai.  Add aniseeds, fenugreek, carom seeds, cumin seeds, and mustard seeds and fry.  Add chopped ginger and green chillies and fry.  Cool and grind.

3.  In a kadai bigger enough to hold the entire contents of the pickle, add half of the measured oil.  When hot, add chopped tomatoes and fry well.  

4.  Add ground mixture to this and fry well until moisture is absorbed completely.

5.  To this, add turmeric powder, coriander powder, asafoetida, and salt.

6.  Keep mixing until oil separates.  Remove from fire, cool, and transfer the pickle to a clean, dry glass container.

7.  Heat the remaining oil and allow it to cool.  Pour over the pickle in the bottle and use after a day or two.  


This masala tomato pickle can be stored up to 6 months.  Transfer in small quantities to a smaller container for use.  Directly using from the stored container can spoil the pickle sooner.  This pickle is a great accompaniment for curd rice, dosas, rotis, etc.  This is a travel friendly dish too, goes well with chappathis while you are on the go.  This can be used to make instant tomato rice, just add seasonings, fry onions, and add this pickle and cooked rice and your tomato rice is ready.


The spiciness of this pickle is moderate.  If you want it more spicy, add more chillies as desired.

The quantity of oil can be reduced if you are using the thokku within a few days.  For longer shelf life, use the said quantity of oil though it would be seem more oily when the pickle is done and transferred to containers.

27 February 2015

Lavender Almond Cake


Have you ever heard of a cake that is fragrant as a flower?  Yes, this cake has the sweet smell of lavender and has a fragrance indeed so different from the regular cakes or special ones of berries or fresh fruits or chocolate and so does the flavor too.

As a member of a bake along group, I received some lavender seeds just enough to bake this cake as a gift from our tutor who shares her recipes with a promise to bake this recipe within the week of receiving the goodie bag of lavender seeds.  To keep up the promise, though the courier guy delayed (as usual), I rushed to bake this wonderful lavender cake with the richness of almond meal (flour/powder).  It was a real lo(i)vely time doing this whole process and my house was heavenly with the sweet fragrance of lavender plus the aroma of a good cake baking in the oven.  It is a saying that baking is therapeutic and this is double therapeutic.  I am sure anyone would be eager to try this cake if they had their hands on lavender seeds.  No issues if seeds are not available, the lavender oil/extract (edible) would also help.

My daughter and I generously shared the cake with our friends and had our collars up when good compliments poured in.

Here goes the recipe.


Ingredients:

Butter (unsalted) - 115 gms

Granulated White Sugar - 1 cup (divided)

Eggs - 2

Almond Meal (Almond powder) - 1/4 cup

Dry Lavender Seeds - 1 tsp

Dairy Fresh Cream - 1/2 cup plus 2 tbsp

Vinegar - 2 tbsp

Vanilla Extract - 1 tsp

All purpose Flour (Maida) - 1-1/4 cup

Baking Powder - 1 tsp

Salt - 1/2 tsp


Glaze:

Dry Lavender Seeds - 1 pinch

Icing Sugar - 1/2 cup

Water - 3 tbsp


Method:

1.  Grease cake pan with butter and dust with powdered sugar on all sides.  Preheat oven for 10 minutes to 170 degrees C.


2.  Add 1/2 cup sugar, 1 tsp lavender seeds, and almond meal in the small jar of the mixie or food processor.


3.  On medium speed, process for a minute until all the three have combined well.  Do not process for long.


4.   Sift together flour, baking powder, and salt.  Keep aside.


5.  Add vinegar to fresh cream in a bowl.  Keep aside.


6.  Add butter into a bowl and beat on medium speed for 2 minutes until soft and fluffy.


7.  Add the remaining 1/2 cup sugar to the butter and beat on high speed for about 5 to 7 minutes until they are well combined, creamy, light, and fluffy.


8.  Add in the lavender almond mixture and beat for about a minute on medium speed until combined.

9.  Add the eggs one at a time beating on low speed for a minute after adding each egg.

10.  Add 1 tsp of vanilla extract and beat for a minute until everything is combined together.

11.  Add half of the flour mixture and beat on low speed until just combined.  Do not over beat.

12.  Add the cream-vinegar mixture and again beat on low speed until just combined.  Make sure you do not over beat.


13.  Mix in the remaining flour mixture and beat on low speed until just combined.  Do not over beat.  Scrape the sides of the bowl and mix well.


14.  Pour the cake batter in the prepared pan and tap to release any air bubbles.

15.  Bake in a preheated oven at 170 degrees C for 40 to 50 minutes until the cake has risen, looks soft, and a tooth pick inserted in the center comes out clean.  Cool on a wire rack.


16.  For the glaze, boil lavender seeds and water for about 5 minutes on low flame.  Switch off and close the lid to let the flavor seep into the water.  Filter the lavender seeds and add the flavored water to icing sugar and make glaze.  Adjust icing sugar or hot water to get the proper pouring consistency.

17.  Pour the glaze over the cake and let it set for 1/2 an hour.

18.  Your cake is ready to served, gobbled up, grabbed, and lo you can see it vanish in no time.  It has such a good aroma of the lavender seeds and the cake with all the richness of almond meal and the whole house smells divine while baking it that you start gasping to catch the sweet smell of it.


Not getting the dry lavender seeds should not stop you from baking this cake.  There is always an alternative.  You can use edible lavender oil or lavender extracts or essence to make this cake.  It is a sure try.  Do not miss it.

Happy Baking!!!

15 February 2015

Tapioca (Kappa/Maravallikilangu) Tart with Spinach Filling

Tapioca is a starch extracted from the cassava root.  Called as maravallikilangu in tamil and kappa in malayalam, it is a staple food in most places and is rich in carbohydrates and is fat free and protein free.  Thus, it is an instant energizer.   Since it does not contain much nutrients, it is accompanied or cooked with protein rich foods.  Here, I have used spinach filling to enhance the nutritional value of the carbohydrate rich tapioca.

Tapioca tart is a savory snack unlike the regular sweet tarts of all kinds we see around.  Serve it hot and it is a real lip smacker.  Being gluten free, it is a boon to gluten allergic people (gluten is mostly found in maida, wheat flour, etc.)

My daughter is fond of this dish and keeps asking for kappa tart fondly.  The original recipe as I had seen on TV had mixed veg and paneer filling but I opted the spinach filling to make it more nutritious and add up spinach in some form in my daughter's menu.  I made mini tarts or tartlets for convenience of gobbling up but this recipe can be made as a big tart too and also garnished with cheese as per your choice.

Here goes my recipe and hope you all would like it too.


Ingredients:


For the Tarts:

Tapioca - 1 kg (boiled and mashed)

Onion - 1 (finely chopped)

Finely Grated Coconut - 1 tbsp

Green Chillies - 3 (finely chopped)

Curry Leaves - Few (finely chopped)

Coriander Leaves - 1 tbsp (finely chopped)

Turmeric Powder - 1/4 tsp

Salt - 1 tsp or as per taste

Oil - 4 tbsp


For the Filling:

Spinach (Palak) - 1 small bunch

Onion - 1 (chopped)

Capsicum - 1 (chopped)

Green Peas - 1/2 cup

Chilli Powder - 1 tsp

Cumin Powder - 1/2 tsp

Coriander Powder - 1/2 tsp

Garam Masala Powder - 1/4 tsp

Salt - To taste

Sugar/Jaggery - 1 tsp

Oil - 1 tbsp

Method:


For the Filling:

1.  Clean and wash spinach and chop finely.

2.  In a kadai, heat oil and saute chopped onions and chopped spinach leaves.

3.  When half cooked, add capsicum and green peas and saute well until cooked. 

4.  Add chilli powder, coriander powder, cumin powder, salt, sugar/jaggery, garam masala powder and mix well until everything blends together.  Keep aside until use as filling in tapioca (kappa) tarts.

For the Tart/Tartlets:

1.  Wash and cut tapioca into roughly large pieces and pressure cook them (for about 5 to 7 minutes).  Allow to cool.  Peel the skin and mash them smoothly.

2.  In a kadai, heat oil and fry finely chopped onions until it turns pink.

3.  Add in all other ingredients except tapioca and mix well.

4.  Next, add in the mashed tapioca little by little and mix well.  This is the tart base.  Adding mashed tapioca altogether at one time will make it difficult to mix.

5.  When slightly cool, make even sized balls of the tapioca mixture.  Take a ball and flatten in your hands and make a cup to line your mould.  I used an aluminium cupcake mold to make small, bite-size tartlets.  Place the cup shaped tapioca dough into the greased cupcake molds (aluminium molds are ideal) and bake them at 200 degrees C for 20 minutes.

6.  When baked, remove from the oven and cool for a minute and carefully remove from molds.  Your kappa tarts (tartlets) are ready.  Fill with the ready spinach filling topped with tomato sauce and serve immediately.


Notes:

To avoid puffing up of the dough while baking, prick in the center of the tapioca cups with a knife or a fork.  I also placed a small, greased aluminium tartlet cup in the center to avoid puffing up and to get a cup shape after baking too.

Any filling of your choice can be used viz., soya, paneer, egg, or mixed vegetable dry curries.

22 January 2015

Strawberry White Chocolate Mousse

Fresh strawberries are always a treat to your eyes as well as your taste buds.  They are so colorful and juicy that one would really wish to have them whenever available.

Mousse is a flavored whipped cream set with a stabilizing agent like gelatin or agar agar.  Nowadays, we do get veg gelatin also.


Ingredients:

Fresh Strawberries - 200 gms (10 to 12 medium sized)

White Chocolate - 100 gm

Gelatin/Agar Agar - 3/4 tsp (plus 1/4 tsp for topping)

Water - 1/4 cup (plus 1 tbsp for topping)

Fresh Whipping Cream - 200 gm (with 30% or more fat content - dairy or nondairy)

Icing Sugar - 1/4 cup (plus 1 tbsp for topping)

Granulated White Sugar - 1 tsp

Vanilla Extract/Essence - 1 tsp


Method:

1.  Hull the strawberries (i.e. remove the green calyx).  Cut them into pieces and grind to a smooth paste in the small jar of your mixie or food processor.  Strain it and collect the smooth strawberry pulp.  Measure 1/2 cup of the pulp and keep the rest of the pulp aside for the topping.

2.  Chop the white chocolate and melt it in a double boiler until completely melted.  Set aside.  (If melting in a microwave, do it in bursts of 30 seconds until fully melted).

3.  Add the 3/4 tsp of gelatin/agar agar in a cup and pour 1/4 cup water to it and let it to bloom (keep undisturbed for 5 to 10 minutes).

4.  Take 1/4 cup of the cream in a heavy bottomed pan and add 1/4 cup icing sugar to it.  Heat up the pan.  Once the sugar dissolves fully, remove from heat.  Add the gelatin/agar agar mixture into it and mix well until the gelatin/agar agar dissolves completely in the heat.  If gelatin/agar agar does not dissolve fully, take back the mixture to heat and keep stirring on medium heat until the gelatin/agar agar completely dissolves.

5.  Add this mixture to the melted white chocolate and mix well.  Now, add 1/2 cup of the strawberry pulp and mix them all together well.

6.  Add fresh whipping cream in a bowl and beat using electric mixer on medium speed until soft.  Add 1 teaspoon of granulated white sugar and beat on medium high speed until stiff peaks form.

7.  Now, add the strawberry mixture and the pure vanilla extract/essence into the stiffly whipped cream and beat on medium speed until everything blends well together.

8.  Scoop the mousse into the dessert cups leaving space for the topping.

9.  For the topping, add 1 tablespoon of icing sugar to the reserved remaining strawberry pulp.  Bloom the 1/4 teaspoon gelatin/agar agar powder in 1 tablespoon of water.  Melt the bloomed gelatin/agar agar in microwave or double boiler and add it to the strawberry pulp.  Mix them all well.  Spoon this topping over the mousse on dessert cups.

10.  To garnish, pipe a little of the mousse with a star nozzle over the set mousse and strawberry topping layers and stick a fresh strawberry piece in the middle (cut a strawberry vertically into 4 pieces).  

11.  Refrigerate the mousse for 1 to 2 hours and serve chilled.


Notes:

I used agar agar powder and amul whipping cream to make this recipe.

Before beating the whipping cream, chill the bowl and the beaters for some time to get stiff peaks in the cream. 

I did not set a separate layer of topping since I had run short of strawberries as many of them had been gobbled up by me (hehe) while doing this recipe.  So, no garnish and no topping layer.  Hope you don't do this and wait patiently to relish the mousse with all its layers and garnishes.


17 January 2015

Carrot Kheer (Payasam)

Carrot Kheer is a simple, easy, quick, and delicious dessert with all the goodness of carrots viz. high vitamin A and beta carotene content.  It is suitable to be served for any occasion, be it parties, festivals, fasting days, get togethers, etc.   In fact, we did this recently for the feast to be served on the day before Pongal at which time the lunch menu has to include vadai and payasam.


Ingredients:

Carrots - 200 gm

Sugar - 180 gm

Milk - 1/2 litre

Cashewnuts - 10

Borneal Flakes (Pacha Karpooram) - A pinch

Saffron (Kungamapoo) - 2 strands

Elaichi Powder - A pinch  


Method:
  
1.  Wash carrots, peel skin, and grate them.  Use fresh carrots for this recipe.

2.  Pressure cook grated carrots and 1 cup of milk until 1 whistle or 5 minutes.

3.  Grind the cooked carrots along with the milk and make a puree.

4.  Grind cashewnuts to form a paste by adding milk or water to grind together.

5.  In a broad, thick bottomed vessel, add the ground carrot-milk puree, the rest of the milk, cashewnut paste, and sugar.  Heat them and bring to boil.  This may take about 5 minutes.

6.  Add in the borneal flakes and elaichi powder and boil for another minute.

7.  Add saffron strands to 1 teaspoon of warm milk and mix well until the color of the milk changes.  Add to the kheer and switch off.

8.  Serve the carrot kheer hot or chilled.


Notes:

Add a teaspoon of condensed milk to give extra richness to the kheer.  You can fry cashews in ghee and garnish the kheer using the fried cashews.  Cashewnut paste can be substituted with almond paste.


16 January 2015

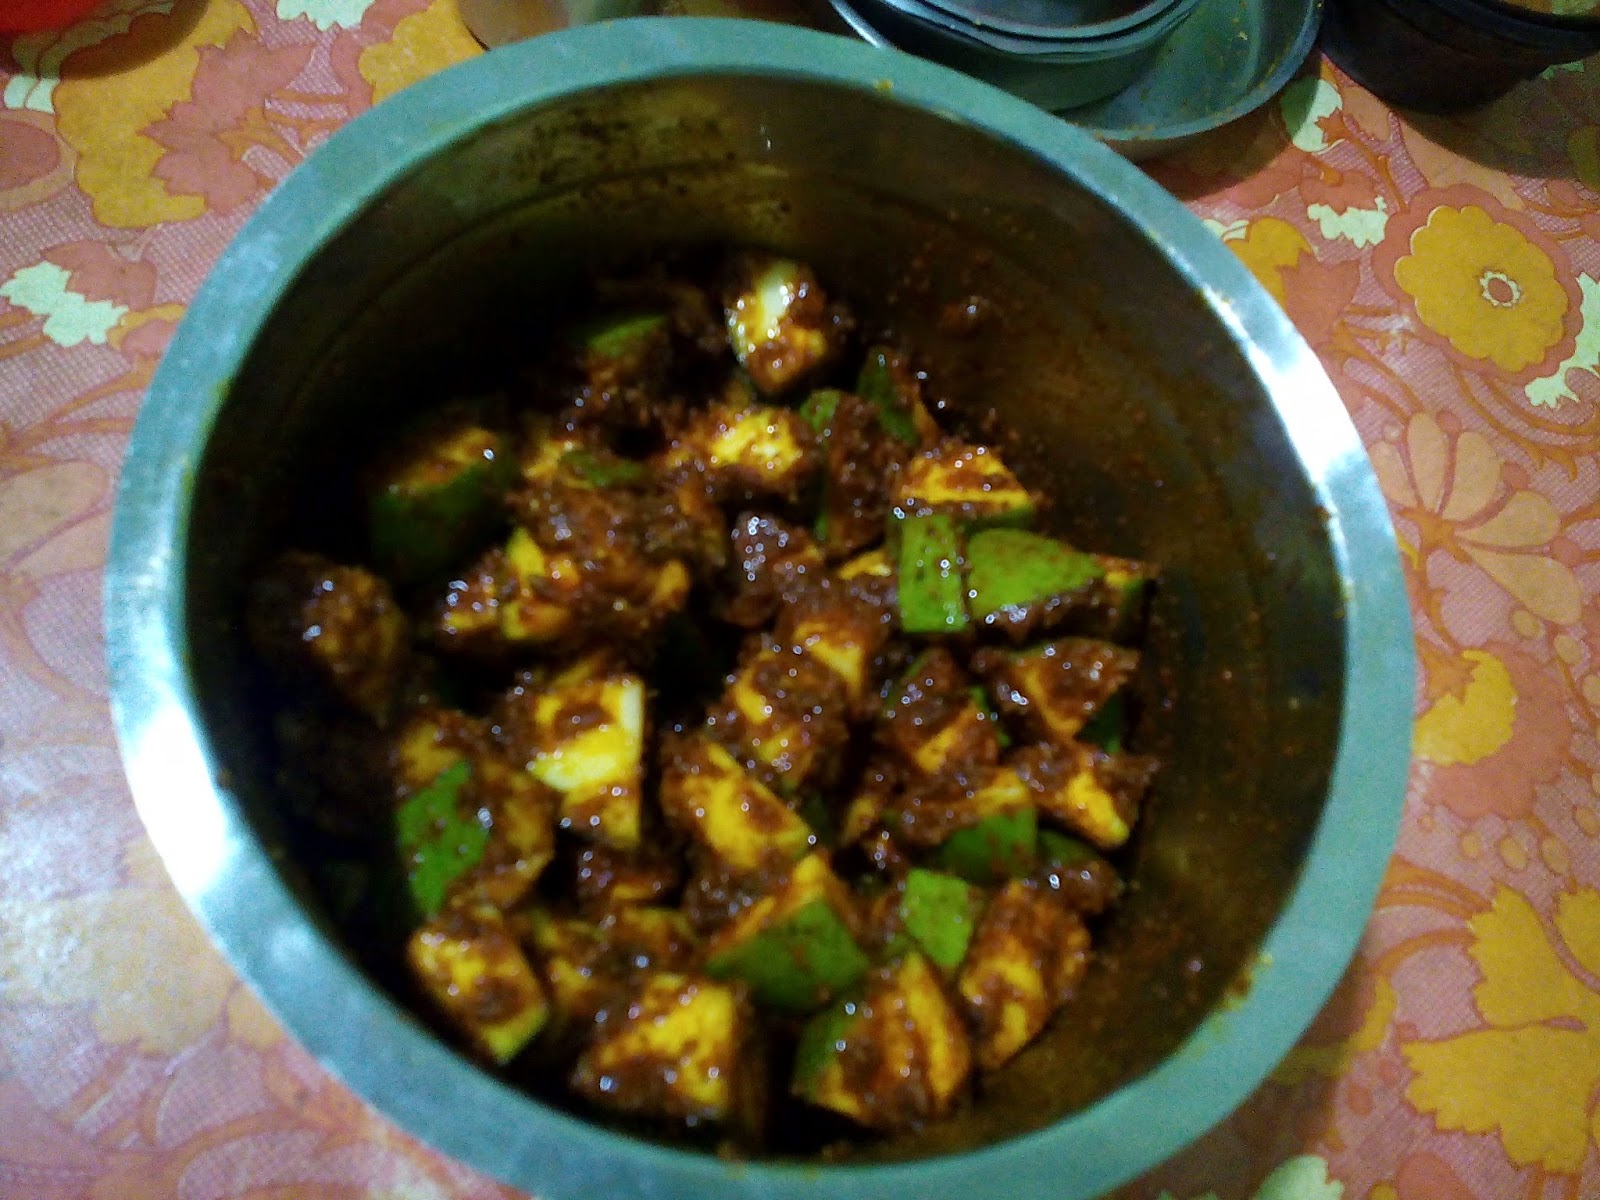
Easy Raw Mango Pickle (Avakkai Style)

The mango pickle is an all-time favorite for most South Indians.  It is the best accompaniment for the curd rice and any mixed rice varieties.

We got 2 raw mangoes fresh from the mango tree from our neighbor's house.  The sight of mangoes hanging on the trees gives us the nostalgic thoughts of our childhood when we would pluck mangoes from the trees around our house or aim and throw stones on them and see them fall, cut them and share them with friends, climb the tree, count the total number of mangoes hanging on the tree and so many other fun games around it with our friends in the neighborhood.  I wonder if nowadays all those do happen amongst our children of this generation who are stuck inside the house with computers, TVs, mobiles, etc.

This recipe is adapted from the authentic Andhra avakkai pickle recipe and is a simple and easy process to make at home.


Ingredients:


Raw Mango pieces - 3 cups

Red Chilli Powder - 1/4 cup

Mustard Seeds - 1/4 cup

Fenugreek/Methi Seeds (Vendhayam) - 2 tsp

Rock Salt - 1/3 cup

Turmeric Powder - 1 tsp

Gingelly Oil - 1/2 cup


Method: 

1.  Wash raw mangoes, wipe dry, and cut into medium sized pieces.

2.  Sun dry red chilli powder, mustard seeds, methi seeds, rock salt, and turmeric powder until crisp.  Powder them finely.


3.  In a clean, dry vessel, add the raw mango pieces and powdered spices and mix well.


4.  Pour the gingelly oil over the mango pieces and mix well until all the oil is spread over all the mango pieces.


5.  Mix for 2 to 3 days and then bottle the pickle in a clean glass container or porcelain jar and keep covered with the lid on.


6.  Use a dry spoon whenever using the pickle and also it would be safe to transfer smaller quantities to a separate small container for regular use instead of taking directly from the entire lot to avoid spoilage of the pickle.

7.  This pickle stays good at room temperature for a week.  Store in the refrigerator for longer shelf life.

8.  This mango pickle is the best accompaniment for curd rice, dosas, rotis, etc.


Notes:

I have used kili mookku mango for this.  Any raw mango with a slight tanginess can be used.

The mango pieces can be cut with the inner shell of the seed as well if the special cutters are available.  I did not do so.


15 January 2015

Eggless Rich Fruit (Plum) Cake

Come winter season and traditional cakes are flooded in everywhere around.  I remember even now the craving I had for the plum cakes right from my childhood.  I think the dry fruits and nuts and the special aroma and flavor of the authentic plum cake gave me the craving for it over other cakes in spite of they being iced and decorated and attractive.  The taste lingers as yet whenever I get the thought of the words "plum cake" itself.  Being so fond of it, I tried my hands on it this time.  I got a great insight on the traditional and authentic method of doing it by researching about it on the internet and from old traditional recipe books and found out a foolproof recipe that worked out best for me.  On a special request from a TamBrahm friend for an eggless version, I did this for her specially.  

This cake is an eggless cake and also nonalcoholic in that I have used homemade grape wine (the recipe of which I will share soon).  If using alcohol, we can use either rum or brandy for soaking the dry fruits and also boozing the cake.  Fresh fruit juices like orange juice and grape juice can also be used to soak the fruits but they need to be stored in fridge and should be soaked only for a day or overnight and used to bake the cake.

Dried fruits and nuts are of your choice.  Prunes, candied strawberries, apricots, pistachios, hazelnuts, walnuts, pecans are of some of the options that can be added.


Ingredients:

Butter - 100 gm

Granulated Sugar - 75 gm (1/2 cup)

Warm Water - 50 mL (1/3 cup)

Maida - 200 gm (2 cups)

Baking Powder - 1 tsp

Baking Soda - 1/2 tsp

Spice Powder - 1 tsp 

Soaked Dry Fruits - 150 gm (1-1/2 cups)

Aerated Soda - 150 mL

Condensed Milk - 400 gm (1 tin)


Method:


1.  Preheat oven to 180 degrees.

2.  Grease and dust with maida an 8 inch round cake tin.  Take a wet towel and tie around the tin or pin both ends of the towel together around the tin.  This wet towel method helps in even baking on the sides and the center of the cake when baked for longer time.  

3.  Heat sugar in a pan until it melts and becomes brown and then a little darker.  Be careful not to burn too much.  If it becomes too dark, the syrup will be bitter and have to be discarded and have to start over again.  It would be better to be alert at this stage.

4.  Add warm water to the dark browned sugar solution and allow to boil in medium flame for 2 to 3 minutes until it becomes slightly thicker.  This is caramel syrup.  Allow to cool.  Keep aside until use.  The darker the caramel syrup, the darker and richer will be your cake.

5.  Sift together maida, baking powder, baking soda, spice powder, and a pinch of salt.  Mix this to the soaked dried fruits and keep aside until use.

6.  Soften the butter in a pan.  Add the entire condensed milk to this and mix well.

7.  Now, fold in half of the maida-dry fruits mixture to the butter-condensed milk mixture little by little.  Mix in half of the aerated soda followed by half of the caramel syrup.  Repeat this process until all three are fully used.

8.  Pour the batter in the greased cake tin and bake for 1 hour at 170 degrees or until a toothpick inserted in the middle comes out clean.

9.  Remove from the oven and cool for a while.  Loosen the sides of the cake and turn out onto a plate.  Allow to completely cool.  Drizzle about a tablespoon of alcohol/homemade grape wine over the cake and cling wrap until use.  Store in a cool dry place.  If storing for more days, drizzle alcohol/homemade wine every alternative day, say about a teaspoon of wine.  The more the cake ages, the more traditional and authentic taste it gives, but who leaves it till then.


Notes:

1.  Spice Powder - Dry roast 7 cloves, 1 inch cardamom piece, 1 small nutmeg, 1 tsp cake jeera seeds, 1 star anise and powder it.  Store in an airtight container.
2.  Soaked dry fruits -  Roughly chop 25 gm cashewnuts, 25 gm almonds, 50 gm raisins/black currants/sultanas, 25 gm dates, 10 gm figs, 10 gm glazed cherries, 5 gm candied orange peel or candied ginger and soak them in 1/4 cup alcohol/homemade grape(red) wine with a 1-inch cinnamon piece.  Store in an airtight container and mix with a wooden spoon daily for the first week and once every week until use.